|
Step 1: Wash |
|
|
|
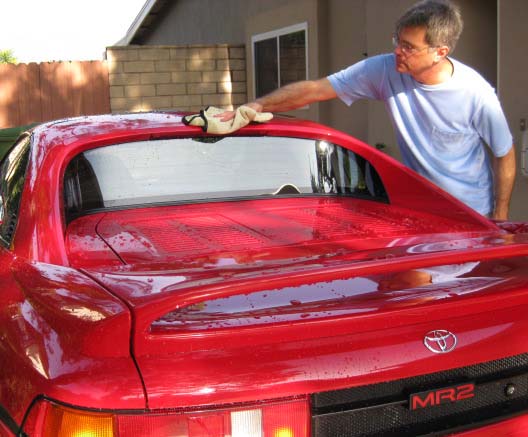
The Basics Washing is a pretty simple step, which is good, considering it’s the one you do most often. But you need to be a little cautious here because improper car washing is probably what causes most swirl marks (small scratches) you see in a car’s finish. It’s very important to use the proper tools and
technique Wash your vehicle in the shade using soap made for washing cars. Start at the top where the vehicle is usually
the least dirty, and work your way down. |
|
|
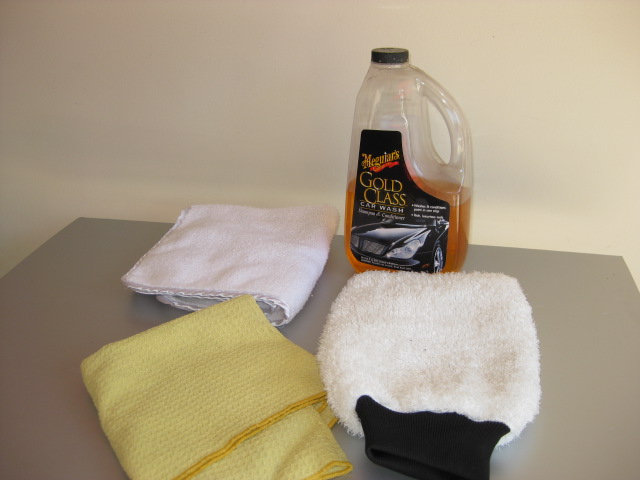
The Details If you really care about your car’s finish, avoid going to a commercial car wash if at all possible. To be honest, I will take my daily drivers to a car wash once in a while if absolutely necessary (they are both white and don’t show light swirls), but never my toy cars. They are all darker colors and would show swirls and scratches too easily. I know the guys at car washes work hard, but I just don't believe anyone there is going to care about my car as much as I do. To wash your car, at the very least, you need a 5-gallon bucket, car wash soap, a good quality wash mitt, a sponge (for the wheels) and some 100% cotton towels. Some folks claim that you don’t really need lots of suds for the car wash to be effective. I can see that, but I still like suds. In reality, I don’t think suds quantity is that important. What IS important is to wash the car in the shade,
or, if that’s not possible, when it’s cool to the touch and the sun low
in the sky. Water droplets will act as little lenses focusing bright,
direct sun on your paint. Also, if the surface is warm, the water will
dry too fast before you have a chance to wipe it off. This will leave
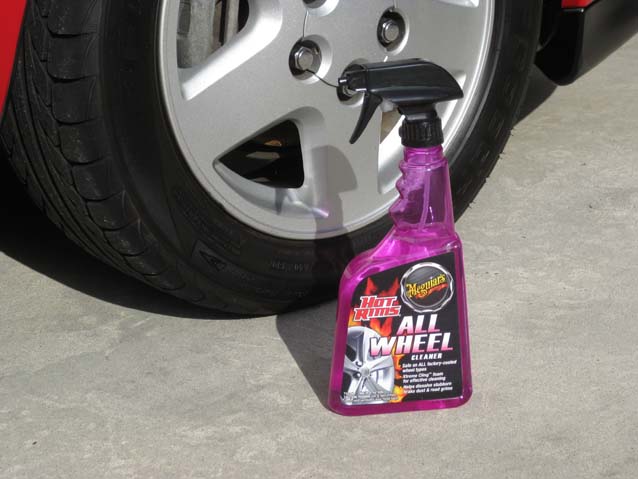
water spots and residue. A note about wheels Jumping ahead a bit, after I wash the body, I will wash the wheels with a separate sponge that I use ONLY for wheels. However if your wheels are excessively dirty, you might want to use a spray cleaner designed for wheels. There are several available depending on the type of wheel you have. If you aren’t sure of what type of wheel you have (aluminum, clear-coated or uncoated, painted, etc.) or just as a starting point, you might want to use an “all wheel” cleaner. The bottle will indicate “safe for all wheels.” If I’m going to use a cleaner on the wheels, I’ll spray it on at this point, before I wash the car, let it sit, and rinse it off when I wet the car down after filling the bucket. To be honest, while many ads claim that these sprays are a hands-off way to clean wheels, I’ve found that you still need to wipe them with a sponge. For more on wheels and tires, click the picture on the left or refer to the "Other Areas" section. |
|
|
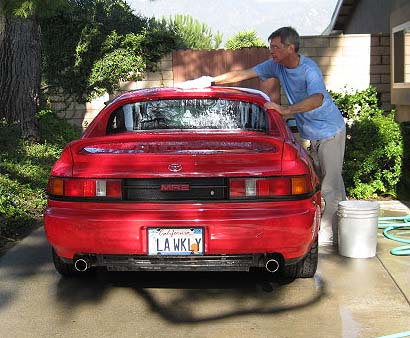
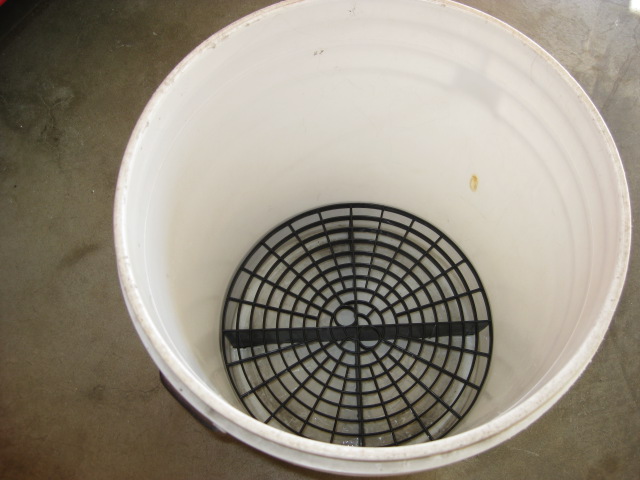
Back to the Wash… Fill the bucket with water and hose down the car getting as much loose dirt off as you can. Then start with the top and work down. By washing the least dirty parts first, you’ll keep the mitt and water clean longer. (Click the picture for more information.) Some folks use the “two-bucket” system – one for rinsing out their mitt or sponge before dipping it into the soapy water. The theory is that less dirt will be left in the mitt or sponge reducing the chance for swirls and scratches. This makes sense, although I don’t go this far. What I do use is something called a “Grit Guard”. It sits at the bottom of the bucket. The theory here is that dirt falls to the bottom and is less likely to be picked up by the mitt. (For ten bucks, you can't go wrong.) For my darker colored cars, I will use two wash mitts. I keep one for the upper part of the vehicle (top, hood, trunk, and the upper part of the sides) and use a second mitt for the lower fenders and doors, bumpers and rocker panels. This might be "overkill" but my thinking is that those areas tend to get dirtier and greasier. I want to keep as much “grit” out of the mitt I use for the most visible parts of the car. After all the body is washed, I use a separate sponge to clean the wheels and tires. Then I rinse it all off. For me, drying is a two-step process. I first use something called “The Water Magnet Drying Towel” (from Meguiar’s) to remove most of the standing water, and then one (or two) of their 100% cotton towels for the final drying. On certain vehicles, I sometimes start the drying process with a water blade. This is a large squeegee that quickly removes a lot of water and is very useful for large vehicles with lots of flat areas (like SUVs). The manufacturer claims it won’t scratch the finish. And while I don’t have any reason to doubt that, I only use it on my white vehicles. Don’t forget to dry inside the door jams after the outside is dry. Open the trunk and dry the ridge area around the opening. Lots of water can accumulate there. I dry the wheels with a separate towel. In this
case I use an old, colored bath towel devoted to wheels and other parts
that tend to get dirty. I even pop the hood and dry around the opening
and at the base of the windshield with the same towel. I dry up any
standing water in the engine compartment. (Click the picture for more
information.) |
|
|
The “Dawn” Debate Some “experts” recommend using dish soap like Dawn. I highly recommend against it. It’s an on-going debate on the Internet. Some claim that it strips the old wax. But I feel that stripping old wax isn’t necessary on a car. In 40 years of cleaning cars, I’ve never noticed a problem of wax buildup. Also, because dish soap is made to suck grease (and oils) off surfaces, I don’t think it’s a good idea to soak all your rubber and weather stripping with it. There’s a reason that, on their web site, the manufacturer of Dawn states: "Dawn is not recommended for window cleaning, car washing, body wash or washing hair." There are many great car care products designed
for specific purposes. Why not use them? (And make sure to stick with something like
Head and Shoulders for your hair.) |
|
|